


Installing a fence is more than just adding a boundary to your property—it’s about increasing security, enhancing aesthetics, and creating a private space for your family. Whether you’re looking to keep pets safe, define property lines, or improve curb appeal, a well-done fence installation can add lasting value to your home.
In this comprehensive guide, we’ll cover everything you need to know about fence installation—from choosing the right materials to understanding the installation process and avoiding common pitfalls. If you’re planning to take on a fencing project, whether DIY or with the help of professionals, this article will serve as your go-to resource.
Why Install a Fence?
Before we dive into the process and materials, it’s important to understand the reasons people invest in fencing. Your motivation will directly impact the type of fence that best suits your needs.
Common Reasons for Installing a Fence:
- Privacy: Keep your outdoor space secluded from neighbors or the street.
- Security: Protect children, pets, and property from intruders or traffic.
- Boundary Definition: Clearly mark your property lines to avoid disputes.
- Noise Reduction: Solid fences can help buffer street or neighborhood noise.
- Curb Appeal: Enhance the appearance and value of your property.
- Safety: Fences around pools or hazardous areas prevent accidents.
Types of Fences to Consider
Choosing the right type of fence depends on your goals, budget, style preferences, and maintenance expectations. Below are the most common types of fencing materials used in residential and commercial fence installation.
1. Wood Fences
Pros:
- Natural appearance
- Can be painted or stained
- Great for privacy
Cons:
- Requires regular maintenance
- Susceptible to rot, insects, and warping
2. Vinyl Fences
Pros:
- Low maintenance
- Weather-resistant
- Long-lasting color and finish
Cons:
- Higher upfront cost
- Limited customization options
3. Chain-Link Fences
Pros:
- Affordable
- Durable
- Easy to install
Cons:
- Offers little privacy
- Industrial appearance
4. Aluminum and Steel Fences
Pros:
- Elegant design
- Rust-resistant
- Low maintenance
Cons:
- Less privacy
- Moderate to high cost
5. Composite Fences
Pros:
- Eco-friendly (often made from recycled materials)
- Wood-like appearance with less upkeep
Cons:
- Expensive
- May fade over time
6. Wrought Iron Fences
Pros:
- Classic and elegant look
- Very strong and secure
Cons:
- Prone to rust if not maintained
- Costly and heavy
Planning Your Fence Installation
The success of your project starts with solid planning. There’s more to fence installation than digging holes and placing panels. Here’s what you need to think about before you begin:
1. Determine Your Purpose
Are you trying to block noise, create privacy, or simply mark property boundaries? Defining your goals will influence the material, height, and style of the fence you choose.
2. Measure Your Property
Walk the perimeter and take detailed measurements. Include notes about slopes, obstructions, and access points (like gates or driveways). You’ll need these for both design and budgeting purposes.
3. Check Regulations and Property Lines
Before installing a fence:
- Review local building codes
- Verify zoning restrictions
- Contact utility companies to mark underground lines
- Get a land survey if you’re unsure about property boundaries
- Confirm HOA (Homeowners Association) guidelines, if applicable
Permits may be required depending on your location and fence height, so it’s better to check in advance than deal with legal or financial issues later.
4. Set a Budget
Fence installation in Cary costs can vary dramatically depending on material, size, terrain, and labor. Always get multiple quotes if hiring a professional, and include costs for gates, posts, hardware, and finishing (paint/stain) in your estimate.
DIY vs. Hiring a Professional
Some homeowners opt for a DIY approach to save money, while others prefer the speed and precision of professional installers. Here’s a breakdown of the pros and cons of each method:
| Method | Pros | Cons |
| DIY | Save on labor costs | Physically demanding |
| Full control over the project | Risk of errors or uneven results | |
| Learn valuable skills | Time-consuming | |
| Professional | Faster, cleaner installation | Higher overall cost |
| Expert in handling issues | Less flexibility in design | |
| Often includes warranty | Must vet the installer carefully |
If your fence is purely functional and you’re handy with tools, a DIY project could be worth considering. But if you’re dealing with difficult terrain, complex gates, or high-end materials, hiring a professional ensures the job gets done correctly and safely.
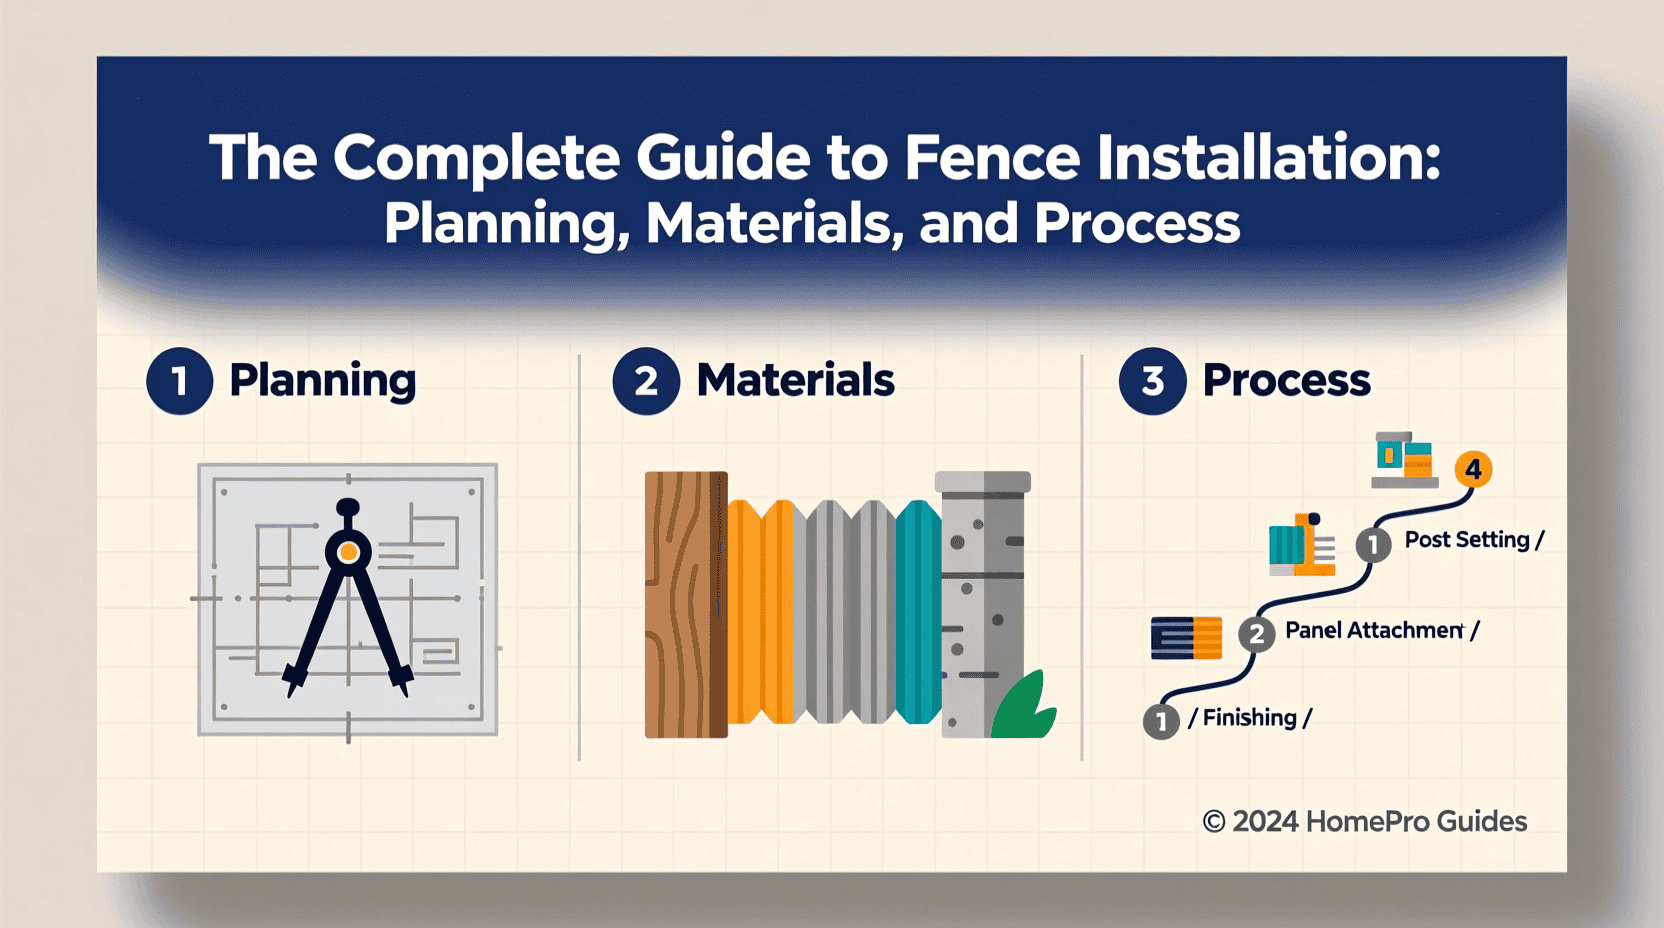
The Fence Installation Process (Step-by-Step)
Whether you’re installing the fence yourself or hiring a team, understanding the typical steps involved will help you stay informed and in control.
Step 1: Design and Layout
Use stakes and string to outline the fence line and mark where posts will go. This visual guide helps avoid mistakes and ensures symmetry.
Step 2: Post Hole Digging
Using a post hole digger or auger, dig holes at the designated points. Hole depth will depend on fence height and material but is usually about 1/3 of the post height.
Step 3: Setting the Posts
Place posts in the holes and fill them with concrete or gravel. Use a level to ensure posts are perfectly vertical. Allow the concrete to cure fully before continuing.
Step 4: Attach Panels or Rails
Once the posts are set, attach the horizontal rails (if applicable) and then the fence panels, boards, or mesh. Follow manufacturer guidelines or architectural plans.
Step 5: Install Gates
Gates are critical for access and should be installed with sturdy hardware. Check for level alignment and smooth opening/closing.
Step 6: Finishing Touches
Apply paint, stain, or sealant if needed. Also, inspect the entire fence for stability, loose fasteners, or sharp edges.
Maintenance Tips for a Long-Lasting Fence
To keep your fence in good condition and extend its lifespan, follow these maintenance best practices:
- Inspect Regularly: Check for loose nails, leaning posts, or damage.
- Clean Annually: Power wash or scrub the surface to remove dirt, mold, and mildew.
- Repaint or Restain: Wood fences should be repainted or sealed every 2–3 years.
- Trim Vegetation: Keep plants and vines away to prevent damage.
- Repair Immediately: Don’t delay fixing broken panels or rusted sections.
A little upkeep goes a long way in preserving your investment.
Common Mistakes to Avoid
- Not Checking Regulations: Skipping permit requirements can result in fines or forced removal.
- Using Inadequate Materials: Cheaper isn’t always better—poor-quality materials won’t last.
- Poor Post Setting: If posts aren’t set deep or level, the entire fence could fail.
- Ignoring Slope and Grade: Your fence design should adapt to the terrain.
- Not Planning for Gates: Forgetting gate placement or width is a common oversight.
Being proactive and detail-oriented during your planning and installation process can save time and money later.
Final Thoughts
A thoughtfully executed Fence installation in Cary provides more than just a physical barrier—it adds character, functionality, and value to your property. Whether you’re prioritizing security, privacy, or curb appeal, taking the time to plan and execute the project properly pays dividends for years to come.
If you’re still deciding whether to go the DIY route or hire a pro, assess the complexity of the job, your available time, and your comfort level with tools. Whatever path you choose, clear planning, quality materials, and attention to detail will ensure your new fence stands strong, looks great, and serves its purpose well.


